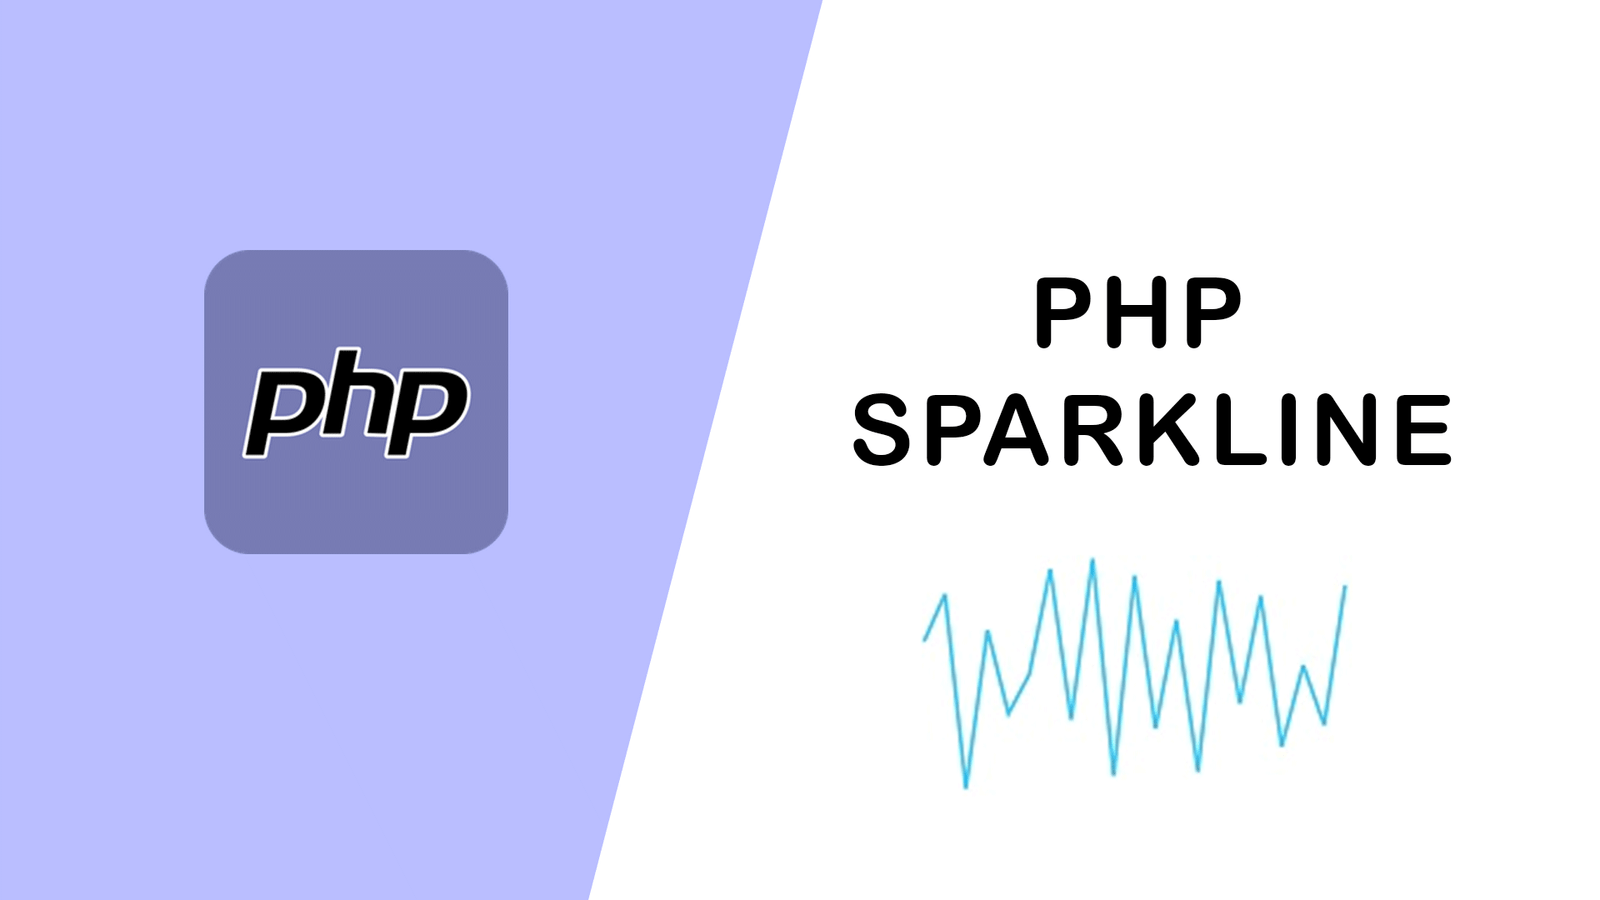
PHP Sparkline
Overview
Sparklines are easy to interpret and also it conveys much more information to the user by visualizing the data in a small amount of space.
Some of the key features are,
- Consumes less amount of space for visualizing the data.
- Easy integration with grids.
- Five type of Sparkline available namely Line, Column, Area, Win-loss and Pie.
- Range Band to highlight selected start and end value region.
- Can customize markers for high, low, start, end and negative point.
- Trackball to get current mouse point to display tooltip.
Getting Started
This section explains you the steps required to populate the Sparkline with data. This section covers only the minimal features that you need to know to get started with the Sparkline.
Adding PHP EJ source and script reference
Create a first PHP file in Xampp and name it appropriately with .php extension and also place it under the newly created sample folder. Now refer AutoLoad.php file from EJ source of PHP in the sample page. For example, say Index.php with the initial code as shown below -
Refer the required scripts files in your PHP page as mentioned below in order to render the Sparkline control.
<!DOCTYPE html>
<html>
<head>
<!--  jquery script  -->
    <script type="text/javascript" src="//cdn.syncfusion.com/js/assets/external/jquery-3.0.0.min.js"></script>
    <!-- Essential JS UI widget -->
    <script type="text/javascript" src="//cdn.syncfusion.com/14.3.0.49/js/web/ej.web.all.min.js"></script>
</head>
<body>
<!--Refer AutoLoad.php common source to render the control-->
   <?php
      require_once '../EJ/AutoLoad.php';
    ?>
</body>
</html>
In the above code, ej.web.all.min.js script reference has been added for demonstration purpose. It is not recommended to use this for deployment purpose, as its file size is larger since it contains all the widgets. Instead, you can use CSG utility to generate a custom script file with the required widgets for deployment purpose.
Initialize Sparkline
Add the following code in the index.php file to create the Sparkline control in index page.
<div>

    <?php
    require_once '../EJ/AutoLoad.php';
    ?>

<?php
    $sparkline=new EJ\Sparkline("container");

    echo $sparkline->render();
    ?>

</div>
Now, the Sparkline is rendered with some auto-generated random values and with default Line type.

Categories : PHP
Tags : PHP

Praful Sangani


2 Comments
Related Articles
Access specifier in php
By Praful Sangani -
July 20,2022

Access Prev Next Post Navigation from Laravel Blad...
By Praful Sangani -
July 21,2022
Laravel 8 Custom User Login and Registration Examp...
By Praful Sangani -
July 19,2022
Categories
Popular Articles

WordPress Add Posts #16
August 04,2022
GZIP and Browser Cache a website wi...
July 21,2022
Destructuring and Spreading
August 13,2022
Import Export CSV And Excel File in...
July 22,2022
Laravel 8 Custom User Login and Reg...
July 19,2022Featured Articles

Laravel 9 Custom Login and Registra...
May 11,2023
SQL Basics: A Beginner's Guide to S...
May 05,2023
Generating PDF Files in Laravel Usi...
April 26,2023
Laravel Image Intervention: A Guide...
April 26,2023
How to Generate BarCode in Laravel?
April 26,2023
Implementing Payment Gateway in Lar...
March 26,2023
Laravel 8 Model Observers Example T...
March 10,2023
How to use Forelse loop in Laravel...
August 08,2022
What Is Wordpress #1
August 04,2022
Bootstrap Alerts
August 03,2022
Essential JS for PHP
August 03,2022
PHP Sparkline
August 03,2022
Groups in React Textbox
August 03,2022
JavaScript exercise-examples for Be...
August 03,2022
Create Social Login In Laravel With...
August 01,2022
Using Laravel Model Factories
July 30,2022
How to Include Bootstrap 5 in our w...
July 28,2022
What Is Data Structures ?
July 28,2022
How to Validate Your Laravel App's...
July 27,2022
TOP 10 PROGRAMMING LANGUAGES USED B...
July 27,2022
Create Select Options from Enums, L...
July 27,2022
Fast Paginate for Laravel 9
July 27,2022
Add Useful Info to the Laravel Abou...
July 27,2022
Learn Most Common Git Commands
July 26,2022
React Hooks: Array Destructuring Fu...
July 25,2022
Laravel 8 CRUD operation
July 23,2022
How to Generate QR Code in Laravel...
July 21,2022
Access specifier in php
July 20,2022